Vinyl Fencing Installation
I get asked this question quite a bit, so I thought it would make for a great blog article. What are the acceptable methods of setting a fence post installation for East Tennessee? Techniques may vary across the States due to materials used for posts, weather conditions (dry humid vs. moist and sandy soil vs Tennessee red clay, and our frost line is about 4 inches (actually, 12″ is what we go with, and we also bury water lines at 24″ to be sure)). The methods below show the concrete wet pour and dry mix and the newest installation pile driving steel 3′ to 4′ deep, leaving the same above ground for vinyl fences. You can always cut corners by not using these methods, but don’t be surprised when your fence begins leaning in 6 months to a year.
If you could dig all the holes straight and true 36 inches deep for a perfect fit, you would not need any concrete for post foundations since the concrete is bridging the gap between the earth and the post. That is the idea behind the last installation method that we call Advantage Post Sockets System.
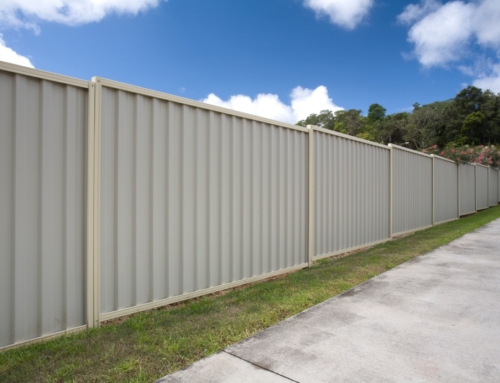
VINYL FENCING INSTALLATION WET POUR CONCRETE
Here is the time-tested method of installing fence posts in East Tennessee. To ensure the integrity of the concrete, you can use bagged concrete from a home center like Lowes or Home Depot. Some fence companies will mix their concrete off the back of a trailer or truck and hope they have the correct mixture of portland, aggregates, and sand! In 32 years of fencing, I have yet to see any crew keep the ingredients clean and correctly mix the concrete for a real concrete mix. Wet pour concrete will start with the concrete dumped out of the bag into a wheelbarrow and mixed into a thick solution. If too thin, it will not set upright. If too thick, it is probably not mixed with the water. Leave about 4″ from the top of the ground and backfill with the same dirt removed. This dirt will help stabilize the post while the concrete is setting, and by leaving 4″, deep grass can grow around if you want. With the dirt over top, there is no unsightly concrete collar around the post. Give the post about 24 hours to 3 days to cure. It actually will cure quite a bit in that time, maybe 90%. I think it takes about a year for total curing, and after that, it will begin to break down (taking about 25+ years).
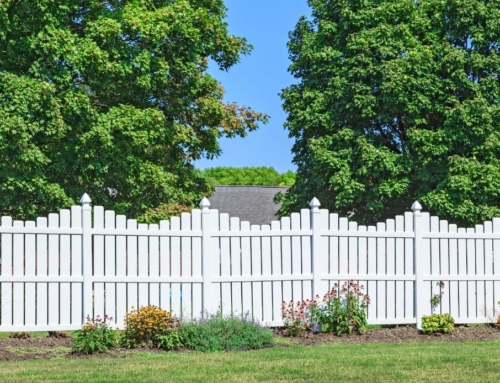
VINYL FENCING INSTALLATION – DRY PACK CONCRETE
This is a great method to use when fitting fence panels together with the posts as you set them. So for vinyl picket fences and aluminum picket fences that come already built from the factory in 6-foot sections, this is a effective method of installation. Once the holes are dug, the posts are dropped into place and the fence panel is attached. Dry concrete is then gently poured around all 4 sides, filling in the hole. Check the post for plumb with the string line, then tamp (using a steel bar) to compress the concrete, removing air and making a tight fit. The concrete should compress down about halfway, then fill up to about 4″ from the grade. Leaving the last 4″ to backfill will allow grass to grow and not leave the unsightly concrete collar at ground level. No water is necessary with this method because the concrete will absorb water out of the ground and cure. If the ground has been really dry for a month, you may decide to drop about a gallon per hole to set. Careful to let the water adsorb in, otherwise you will have it all run off with very little effect.
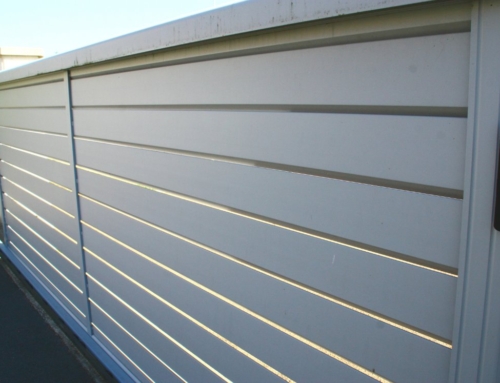
VINYL FENCING INSTALLATION – ADVANTAGE POST SOCKET SYSTEM
The advantage post socket system was developed by a Canadian fence man to solve the problems of setting fence posts with concrete in the cold Canadian winters. You see the frost line is about 36″, so if set to shallow the concrete, it would heave and pull posts up. The solution he came up with was to power impact drive eight-foot metal posts into the ground about 4 feet, leaving 4 feet above ground to support the fence (vinyl privacy fence here). By using readily available fence posts that were galvanized, longevity is assured. Great solution! For the vinyl fence posts, adapters are needed to connect the industrial pipe to the vinyl fence post. What happens when the post is off plumb just a little? How do you correct that? This is where the Canadian fence man came up with a very simple solution! A round connector fitted inside a square vinyl post will hit all 4 sides in the center of the post. The inside of the connector that slides over the steel pipe is elliptical so that adjustments for the plumb can be made. After seeing this work, and many investigations in trade shows, conventions, and fencing friends in the northern states, we decided to go with this. Now, after using this method for over 5 years, we have not had any issues with the system! Advantage sockets and steel reinforcement pipe on EVERY VINYL POST! Now that is a strong vinyl fence!